 GS1 Assistant - Help Document
Assign Your First GTIN to a Product
In this article, you’ll learn how to:
- Find a product variant
- Assign a GTIN
- Confirm the assignment worked
- Understand the GTIN status
Step 1: Find the variant you want to assign
Open the GS1 Assistant app to view your product dashboard.
If your store has many products, use the search bar or the status filters to quickly find the variant you want.
To see only products without GTINs:
- Click the Unassigned filter.
- Search for a product name if needed.

Step 2: Assign a GTIN
The app picks the next available GTIN from your prefix block, assigns it to the variant, and writes it to the barcode field in Shopify automatically.
- Find the variant in the list. On the right side of its row, click Assign GTIN.

- The row updates immediately. The status changes from Unassigned to OK, and the GTIN number appears in the barcode column.
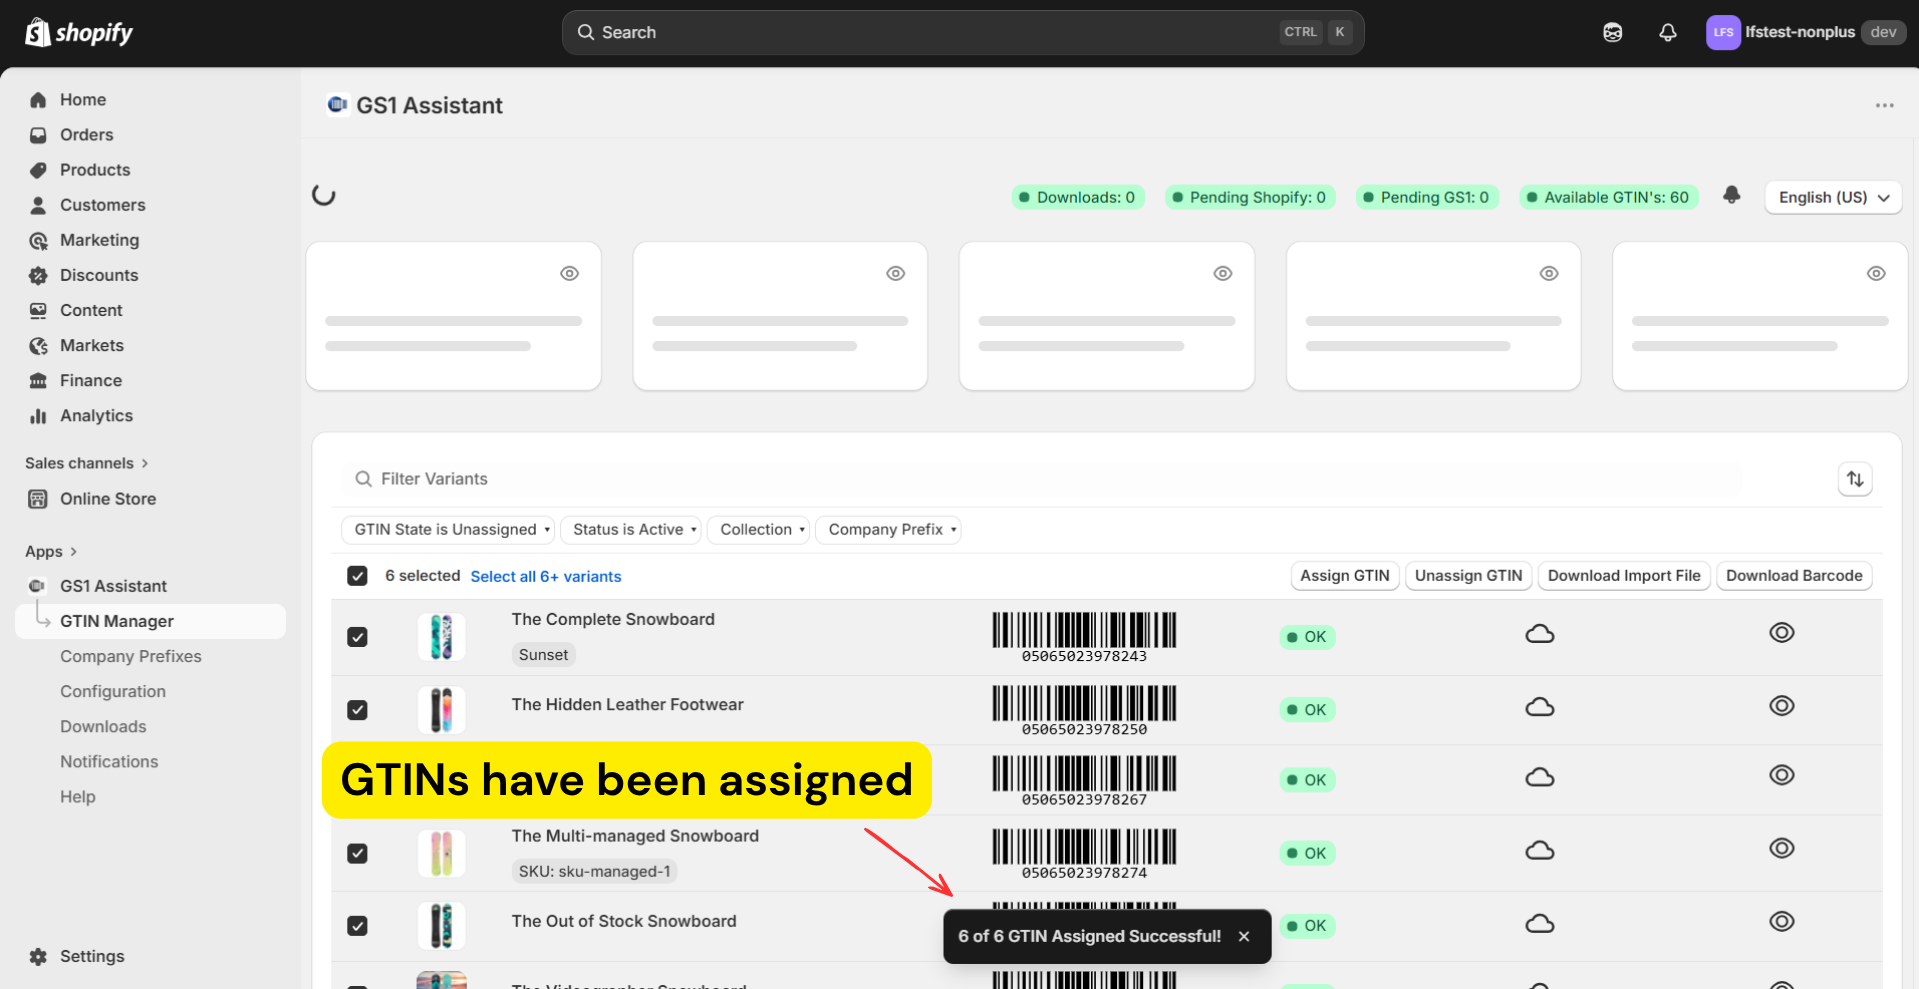
In most cases:
- Wait a few minutes.
- Click Start Scan to refresh if needed.

The status should update automatically.
Step 3: Check the variant detail
From the GTIN Manager page, click on the product to open the Variant Detail page.
Here you can view:
- the assigned GTIN
- validation status
- company prefix
- assignment history
Understanding the sections of the Variant Detail page
1. GTIN Status
Shows:
- assigned GTIN
- validation result
- company prefix
If the status shows OK, the GTIN is ready for marketplace use.
2. GTIN Manager
Contains optional product information such as:
- brand
- category
- description
- net content
Some GS1 organizations use this information for product catalog syncing.
You do not need to complete these fields to assign GTINs.
4. GTIN Log History
Shows a history of GTIN-related actions, including:
- assignments
- sync activity
- updates
Useful for troubleshooting or audits.
Assigned the wrong GTIN?
- Click Unassign in the GTIN Status section.
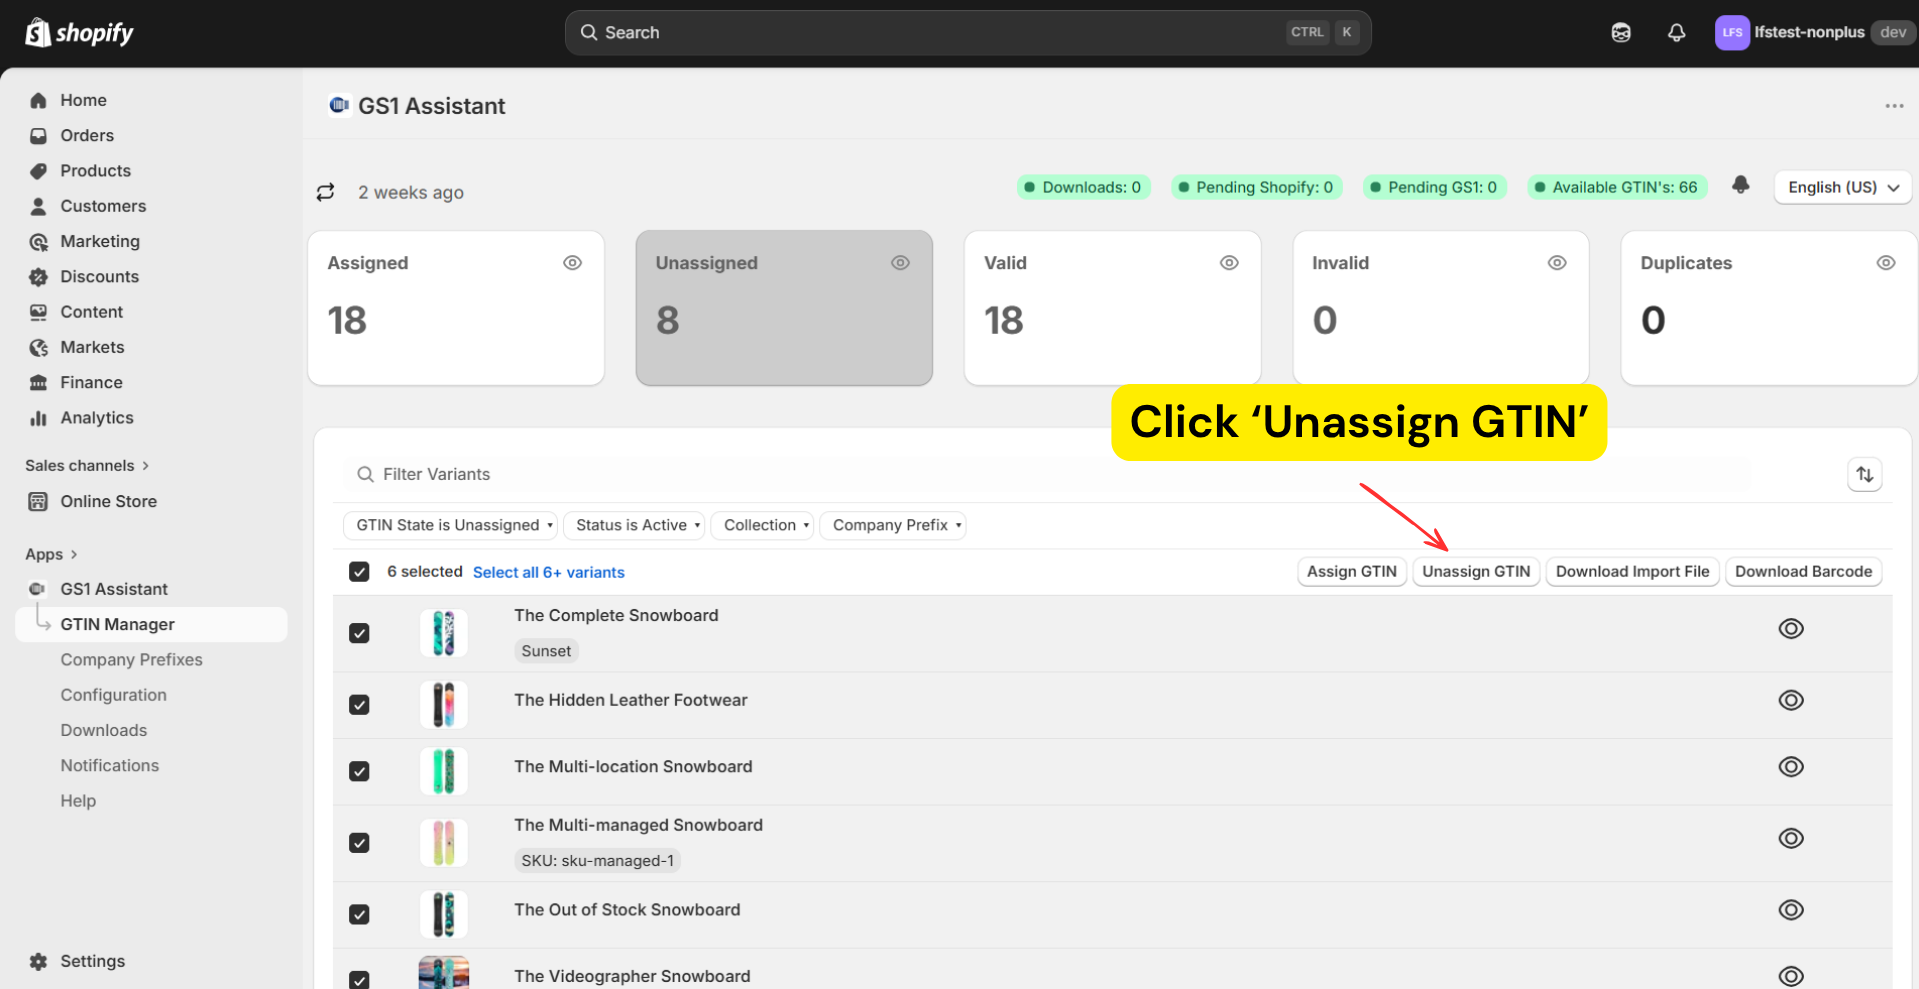
The GTIN can be returned to your available range and reused later by updating the range in your company prefix configuration. No GTINs are permanently lost.
What “OK” means
An OK status means:
- The GTIN format is valid
- The check digit is correct
- The GTIN belongs to your registered prefix
This is what marketplaces like Amazon and Google Shopping typically validate during listing checks.
OK vs Verified by GS1
OK status is not the same as ‘Verified by GS1.’
Most merchants only need valid GTINs linked to their company prefix.
Read next: Adding and Managing Your Company Prefix